Gifts are not just things, but a way to express attention, care and create a special atmosphere. One of the most universal and stylish gifts is a candle. It fills the house with warmth, comfort and pleasant aromas. But can you do something to make this gift truly unique? Well, unusual handmade candles are an opportunity to add a part of your soul and creativity to the gift. And if you include a little imagination, you can turn an ordinary candle into a real surprise that will surprise and be remembered for a long time. Today we are talking about how to make an unusual surprise candle and why the recipient of your original candle will need a coin value checker.
Choosing the Concept: What Is a Surprise Candle?
Due to creating your own surprise candle you will be able to convey and show more than just a pleasant scent or a warm glow. You can make a unique one, which with the melting of the wax will reveal an object, transforming a simple candle into an exciting experience. But what should you hide inside? Here are some fun ideas:
A tiny rolled-up note: Write a secret message or heartfelt quote that the recipient can discover as the candle burns.
A piece of jewelry: A small ring, charm, or pendant can add a touch of elegance to the surprise.
A lucky charm or figurine: A small symbol of luck, like a four-leaf clover or a tiny animal, can be a delightful find.
A coin: A rare or collectible coin is a fantastic choice. It adds mystery, as well as it may also prove to be valuable! Also remember adice your recipient to verify its value with a coin Coin ID Scanner, to find its potential value and interesting facts.
Is a coin a good choice? Yes, as placing a coin inside a candle is an especially meaningful option because it symbolizes good luck, holds tangible value and makes for a lasting keepsake. Unlike a candle that eventually melts away, the coin remains as a permanent memory of the gift. Then (below in the article) we will focus on creating a surprise candle that conceals a coin, offering both a visual and experiential delight for the recipient.
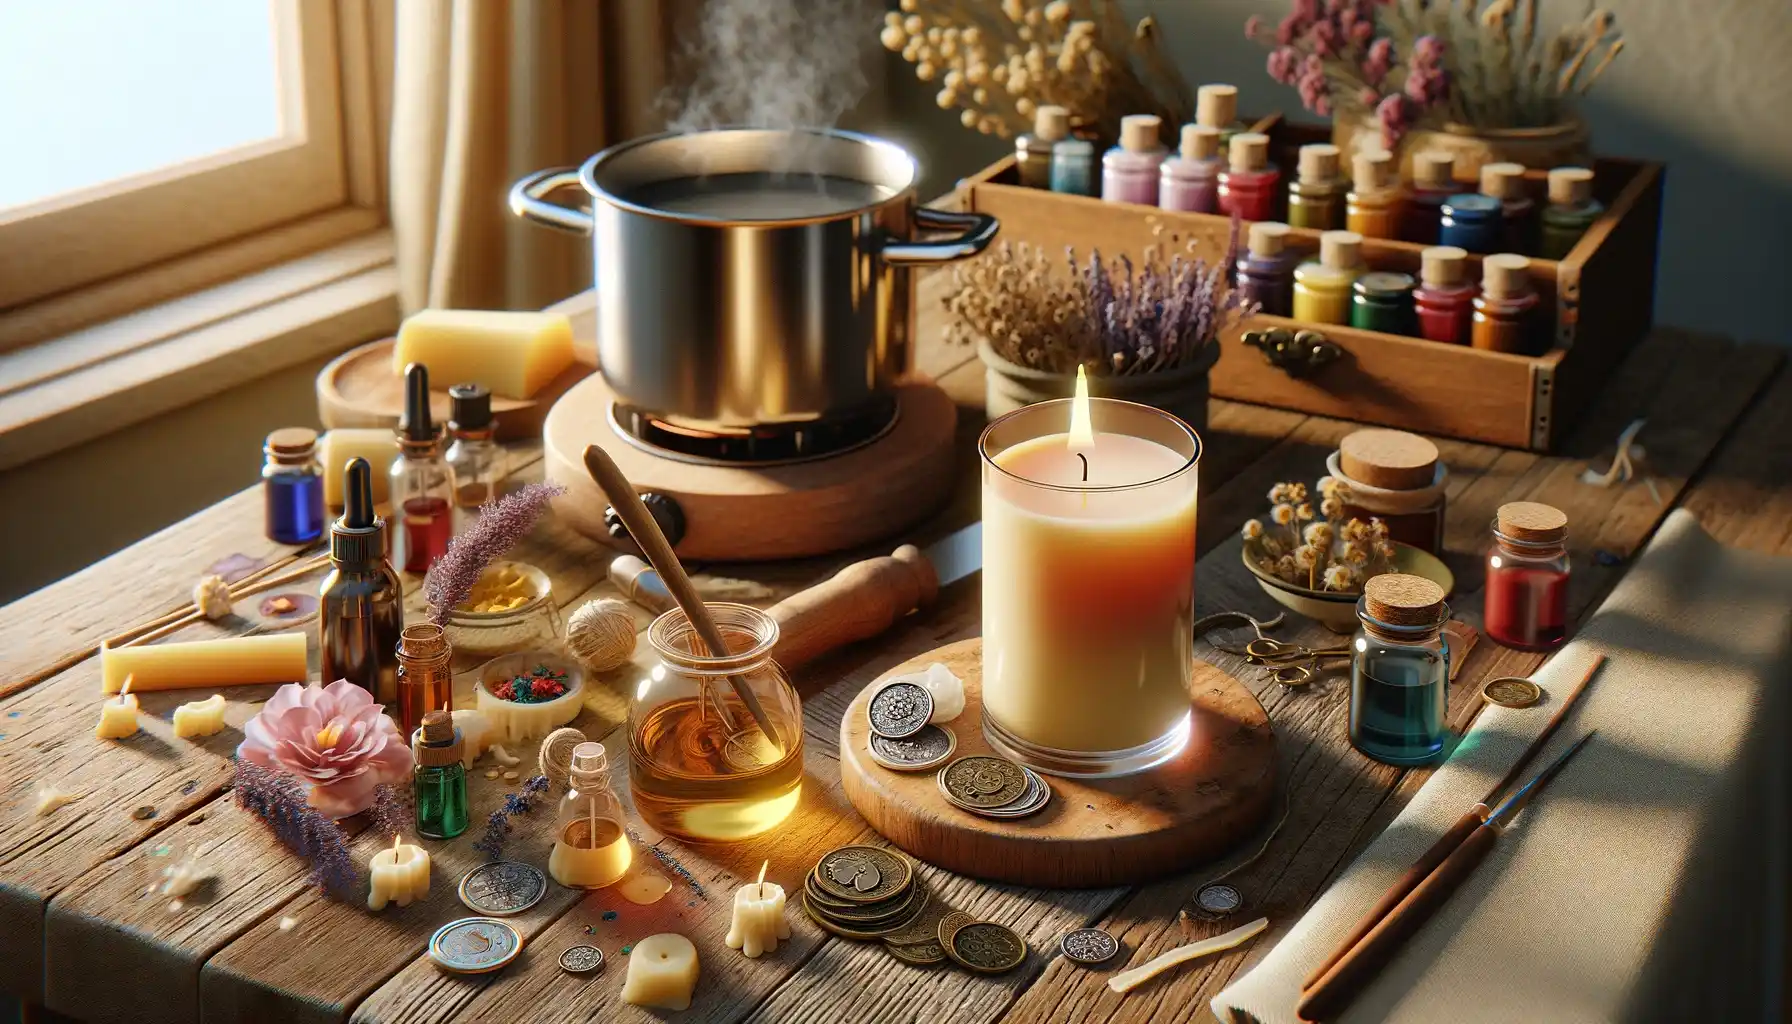
Selecting Materials for a Surprise Candle
Well, before you start crafting your candle, selecting high-quality materials is key to ensure both safety and beauty. Here you need to consider some important points:
Wax: Which Type to Choose?
The type of wax you choose affects how long the candle burns and how well it reveals the concealed coin. The most common options include:
Wax Type | Burn Time | Best For |
Beeswax | Long-lasting | Natural and eco-friendly candles with a warm golden glow |
Soy Wax | Medium | Smooth-burning candles with excellent fragrance retention |
Paraffin Wax | Shorter | Budget-friendly and easy to work with, but less eco-friendly |
Tip: If you want your coin to appear more quickly, use a blend of soy and paraffin wax, as it melts faster than pure beeswax.
Choosing the Right Wick
The choice of wick is just as important as the wax itself when creating a candle, especially one with a surprise inside. A wick that’s too thick will cause the wax to melt too quickly, bringing the coin to the surface far sooner than intended. On the other hand, a wick that’s too thin might lead to tunneling, where only the center melts, leaving the edges untouched and making the reveal uneven. For smaller candles, a thin cotton wick works best, ensuring a slow, steady burn. If crafting a larger candle, a wooden wick adds an extra layer of charm, producing a soft crackling sound reminiscent of a cozy fireplace.
Selecting the Perfect Mold
Equally important is choosing the right mold. Since your goal is to encase the coin in wax while ensuring an even burn, the shape of the mold is crucial. A cylinder-shaped mold is ideal, as it allows the wax to distribute evenly, keeping the coin in the center as the candle burns. Silicone molds, on the other hand, make it much easier to remove the hardened candle without breaking the shape of the candle. Choosing the right mold is as much about aesthetics as it is about ensuring that everything goes as planned, and that the coin will emerge gradually rather than being buried too deep or exposed too soon.
How to Pour a Candle with a Coin: Detailed Recommendations
Crafting a surprise candle is an art, and each step contributes to the final experience: the scent, the burn, and, of course, the hidden treasure waiting to be revealed. Follow our detailed tips and steps below carefully, and your candle will both look beautiful and also hold its secret perfectly until the right moment.
Step 1: Melt the Wax the Right Way
Start by melting your wax in a double boiler, never over direct heat. If wax gets too hot too quickly, it can discolor, lose its fragrance-carrying properties, or even become a fire hazard. The ideal melting temperature depends on the type of wax:
Beeswax: Melts at around 145°F (63°C)
Soy Wax: Best melted at 120–180°F (49–82°C)
Paraffin Wax: Melts fastest at 130–150°F (54–65°C)
Tip: Do you want a slower burn that reveals the coin gradually? Use beeswax or a soy-beeswax blend. Need a quicker surprise? Then a soy-paraffin mix will speed things up.
Step 2: Prepare the Wick and Mold
While the wax melts, prepare your mold. The wick placement is critical, as too close to the edge, and the candle won’t burn evenly; too off-center, and it might not reveal the coin properly. Well , if you use cotton wick, dip it in melted wax, straighten it, and let it dry before placing it in the mold. This helps it stand firm when the hot wax is poured. But if it goes about a wooden wick, soak it in olive or coconut oil for at least 30 minutes - this improves the crackling effect when the candle burns. Then secure the wick in place with a wick holder or by placing two chopsticks across the opening of the mold, sandwiching the wick between them.
Fun fact: Ancient Romans used rush wicks soaked in animal fat as early versions of candles, long before wax became the standard!
Step 3: Pour the First Wax Layer
With the wax fully melted, pour the first layer - about 1/3 of the total candle height to create a solid base for the coin. Let this layer cool until firm but still slightly tacky: usually it takes 15 to 20 minutes, depending on the wax type. Why not place the coin now? If you drop the coin in immediately, it may sink too deep or end up off-center, thus you need to let the first layer harden slightly to prevent this. Well, at this stage it's time to use the Coin ID Scanner app and check some features of the coin you choose. Here you can learn about the unique story that the coin holds and come up with an original note to go along with your creative candle.
Step 4: Place the Coin Correctly
Now comes the magic. Gently press the prepared coin into the wax base. It should stay in place without floating or sinking. If you want to keep it upright (for example, if it has a special engraving that should be visible when revealed), position it at a slight angle using tweezers.
Tip: If you use a very lightweight coin (such as aluminum or thin silver pieces), you can attach a tiny dot of melted wax to the back before placing it in position - this helps anchor it as you pour the next layer.
Step 5: Pour the Second Layer of Wax
Carefully pour more melted wax over the coin, covering it completely. Stop before reaching the top of the mold, leaving about 1/2 inch of space for the final decorative touches. Let this layer set completely before moving on to prevent the coin from shifting when you add the final pour.
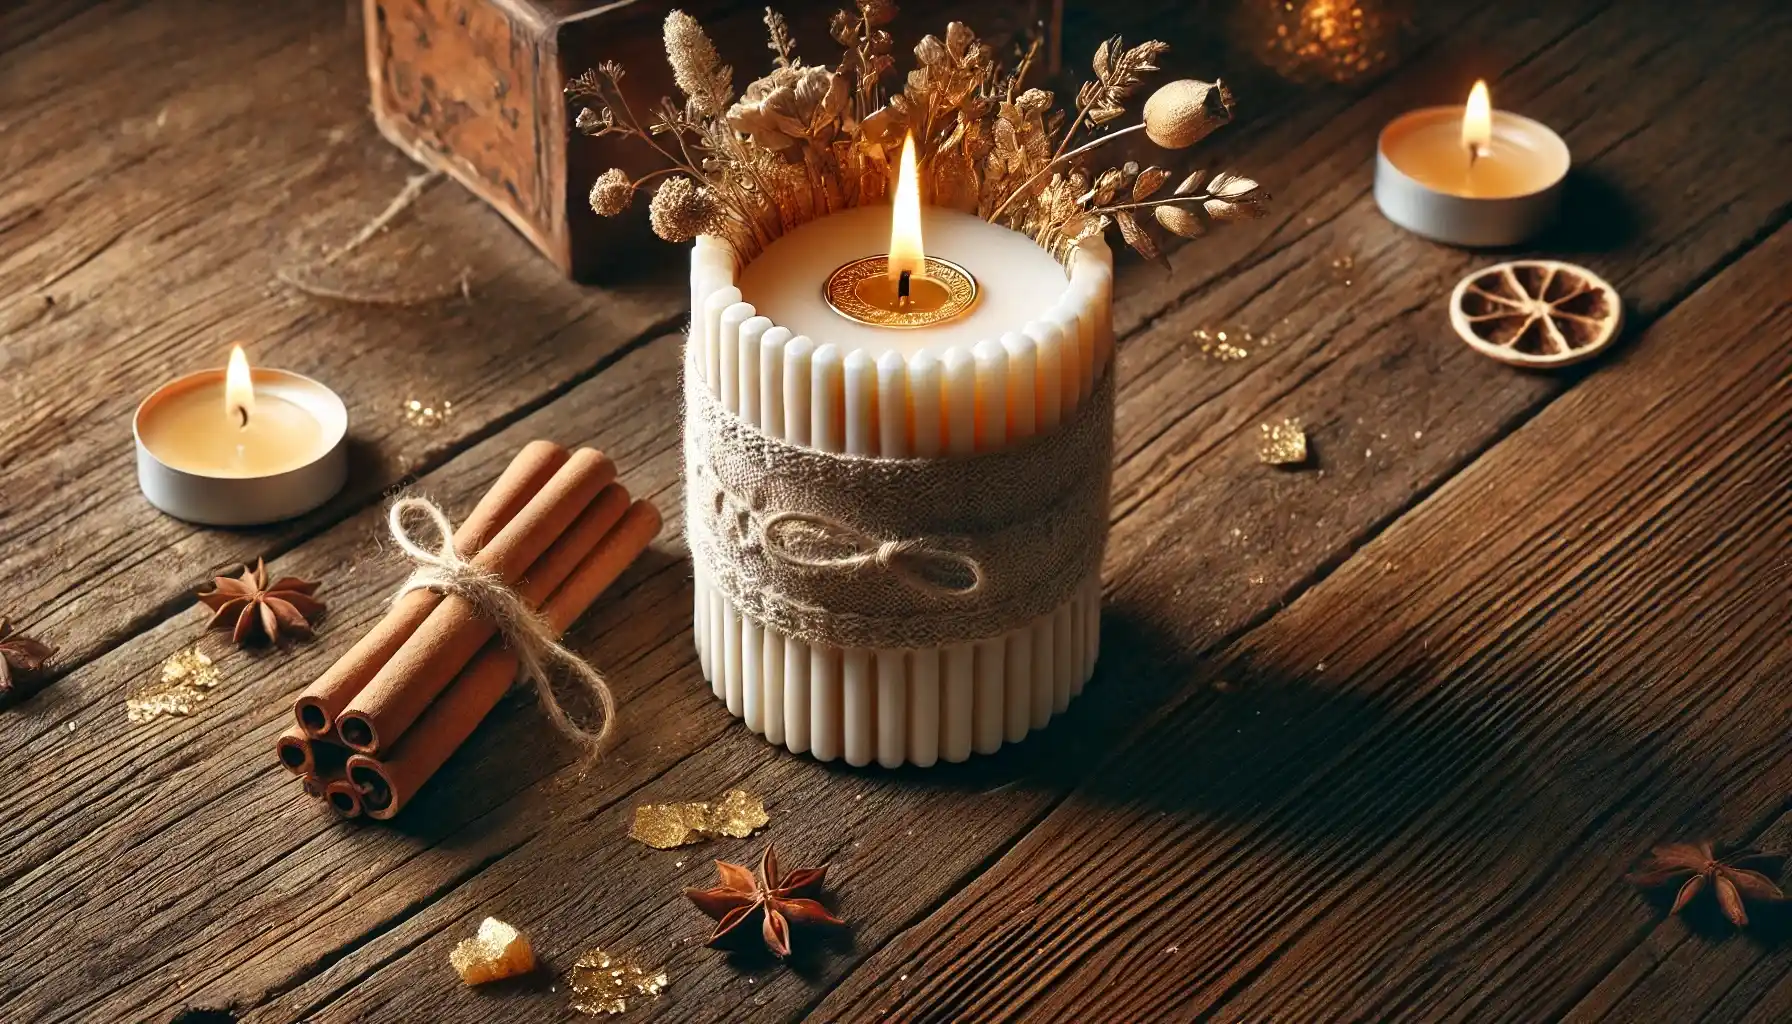
Step 6: The Final Pour and Decorations
For the last wax layer, you can get creative. Want a candle that hints at the unique feature inside? Add gold mica powder for a shimmery effect, dried flowers for elegance, or a light dusting of cinnamon for a rustic, warm finish. If you prefer a minimalist look, smooth the surface using a heat gun or a hairdryer on a low setting to give the candle a seamless, professional finish.
Fun detail: In Victorian times, candles were sometimes used as timekeepers, with embedded objects (like metal trinkets or small charms) serving as indicators of how long the candle had been burning!
Flames of Intrigue
Each surprise candle is a mini-quest. Light a fire, be patient, and let your surprise gift tell its story! Slowly melting, the wax will reveal a buried secret, and the moment of waiting will turn an ordinary evening into an exciting adventure. After all, what could be better than a gift made by your own hands that can surprise your dearest ones?